A lead generation website can report hundreds of events and still leave you guessing which marketing work creates qualified opportunities. The problem usually is not missing data, but rather unclear data. Effective GA4 event naming turns scattered clicks, form starts, phone taps, and booked meetings into a funnel your team can trust.
By leveraging the native event-based model of the platform, you can align these interactions with specific milestones in the buyer journey. This approach gives SEO, paid media, content, and web development teams one shared language to measure performance.
Start by naming events around meaningful customer actions, then connect those actions to lead quality and revenue. Ultimately, establishing this consistent structure is the core of a successful measurement strategy for B2B and service-based businesses.
Key Takeaways
- Standardize with Action-Oriented Names: Use a consistent
verb_nounnaming convention (e.g.,generate_lead,book_appointment) to ensure your analytics remain readable and stable across website updates or tool migrations. - Prioritize Context with Parameters: Use event parameters—not new event names—to capture specific details like form names, service types, or CTA locations, keeping your high-level event reports clean and actionable.
- Separate Tracking from Technical Implementation: Decouple your internal data layer and GTM trigger names from your final GA4 event names, ensuring your analytics taxonomy remains a reliable, human-readable source of truth regardless of backend changes.
- Focus on Business Value for Key Events: Only mark high-value, revenue-impacting actions as “key events” to prevent campaign optimization models from being diluted by minor engagement signals.
Why inconsistent event names damage lead reporting
GA4 does not know whether form-submit, contact_us, leadFormComplete, and thank-you-page describe the same user action. While this fragmented data collection was often manageable in Universal Analytics, GA4 requires a higher level of precision. Your team might recognize these terms, but reports, audiences, and ad-platform imports will treat them as separate, disconnected signals.
That splits the conversion story. A paid search manager may optimize for one event, while the SEO team reports on another. By implementing a standardized naming convention, you ensure that all teams, including SEO and Paid Media specialists, are perfectly aligned on exactly what constitutes a success signal. Without this alignment, sales teams may receive leads that nobody can accurately trace back to the original source.
Poor naming also creates expensive cleanup work. Analysts have to build complex comparisons, use regular expressions, or blend data in Looker Studio just to answer simple questions:
- Which channel produces consultation requests?
- Which landing pages create sales-qualified leads?
- Do visitors who read service pages call more often than those who download a guide?
- Which campaign drove a booked meeting rather than a form submission?
A well-planned naming framework avoids those problems before they reach your reporting dashboard.
An event name should describe the user action, not the page code, campaign, or tool that captured it.
For example, generate_lead describes a completed lead action. In contrast, hubspot_form_17_success describes an implementation detail that could change next month.
Names based on business actions remain useful when you redesign a form, switch CRM platforms, or migrate from WordPress to Shopify. That stability matters when you compare performance across quarters.
Start with the lead journey, not the tag manager
Before naming a single event, map the actions that move a visitor closer to sales. Every successful lead generation strategy requires you to map user intent accurately before you begin tracking. A lead generation website does more than collect form fills. Visitors may call, request a quote, schedule a demo, start a WhatsApp chat, download a brochure, or use a pricing calculator.
Each action has a different level of commercial intent. Treating all of them as identical leads makes channel reporting less useful.
A practical journey usually has four layers:
- Awareness actions include article reads, video views, scroll depth, and resource downloads.
- Consideration actions include pricing-page views, case-study views, service comparisons, and calculator use.
- Lead-intent actions include form starts, click-to-call taps, chat starts, and appointment-widget opens.
- Lead-completion actions include submitted forms, confirmed bookings, completed calls, and verified enquiries.
The fourth layer often becomes a GA4 key event. In analytics, it is best to categorize these high-value completions as conversion events to distinguish them from simple site interactions. However, the other layers still matter because they show where prospects hesitate or lose interest.
For example, a B2B agency may find that visitors often start a contact form but abandon the phone field. A clinic may discover that mobile users tap the call button more than they submit appointment requests. Those findings change page design and follow-up priorities.
Keep your map tied to the actual sales process. If sales rejects free consultation requests with personal email addresses, a completed form isn't always a qualified lead. Track the form submission in GA4, then send later CRM stages back to Google Ads or your reporting system.
This approach gives Performance Marketing teams faster optimization signals without confusing form volume with closed revenue.
Build a clear GA4 event naming convention
GA4 event names must use lowercase letters, numbers, and underscores to remain functional. Because GA4 event names are case sensitive, consistency is critical. Keep names short, readable, and based on an action so that any team member can understand the data without needing to open Google Tag Manager.
To maintain a scalable naming convention, use a simple structure:
verb_noun
Examples include:
generate_leadform_startform_submitphone_clickemail_clickbook_appointmentchat_startdownload_resourceview_serviceview_pricing
This format works because the first word describes what happened, while the second identifies the object or outcome.
Avoid vague event names such as button_click_1, homepage_form, or submit_final_new. They may work during initial setup, but they often become meaningless in a report six months later.
Google provides automatically collected events, enhanced measurement events, and recommended events. You should prioritize using recommended events whenever possible, as this ensures your data aligns with Google's reporting features and prevents conflicts with reserved event names used for internal processing. For lead capture, generate_lead is the natural choice for a completed form, confirmed enquiry, or other qualified action.
Do not create several near-identical completion events unless they represent genuinely different outcomes. Instead of using quote_form_submit, demo_form_submit, and contact_form_submit, use generate_lead paired with a parameter that identifies the specific lead type.
| Business action | Recommended event name | Helpful parameter |
|---|---|---|
| Visitor opens a form | form_start | form_name |
| Visitor completes a form | generate_lead | lead_type |
| Visitor taps a phone link | phone_click | phone_location |
| Visitor books a meeting | book_appointment | appointment_type |
| Visitor starts web chat | chat_start | chat_provider |
| Visitor downloads a PDF guide | download_resource | resource_name |
The event name stays stable, while parameters add context. That balance keeps reports clean and preserves the necessary detail for your team.
Use parameters to capture context without clutter
An event answers, “What happened?” Event parameters answer, “Where, how, and for what purpose did it happen?”
For lead generation sites, these parameters carry much of the reporting value. A form completion on a generic contact page has a different meaning than one on a service page after an ad click. Both can use the generate_lead event, yet their parameters reveal the nuance. You should review the official Google documentation for recommended events to see which specific parameters are expected for your primary lead actions.
Use a controlled set of parameters across your website:
form_nameidentifies the form, such ascontact,request_quote, ordemo_request.lead_typegroups the business purpose, such assales_enquiry,consultation, orsupport.service_nameshows the service that prompted interest.page_typeseparates blog, location, service, landing, and contact pages.cta_locationrecords where the interaction happened, such ashero,header,sticky_mobile, orfooter.contact_methodidentifiesform,phone,email,chat, orcalendar.resource_nameidentifies a downloadable asset or gated content offer.
For a service-business site, a finished form might send:
generate_lead
with:
form_name: request_quote
lead_type: sales_enquiry
service_name: local_seo
cta_location: service_page
page_type: service
This tells a much richer story than a generic success-page pageview.
Register only the parameters you need for reporting by creating custom dimensions in GA4. If you want to build a report by lead_type or service_name, you must create an event-scoped custom dimension for that parameter. Otherwise, the data may appear in debugging tools but remain difficult to use in standard reports. As you expand your tracking, be mindful of data collection limits to avoid metadata truncation and ensure your reports remain accurate.
Don't send personal data to GA4. Names, email addresses, phone numbers, home addresses, and free-text form answers should stay out of your event parameters. GA4 reporting is not your CRM.
Use a CRM such as HubSpot, Salesforce, Zoho CRM, or Pipedrive for identifiable lead records. GA4 should receive anonymous behavioral data and approved business context through these event parameters while keeping sensitive information safely stored in your own databases.
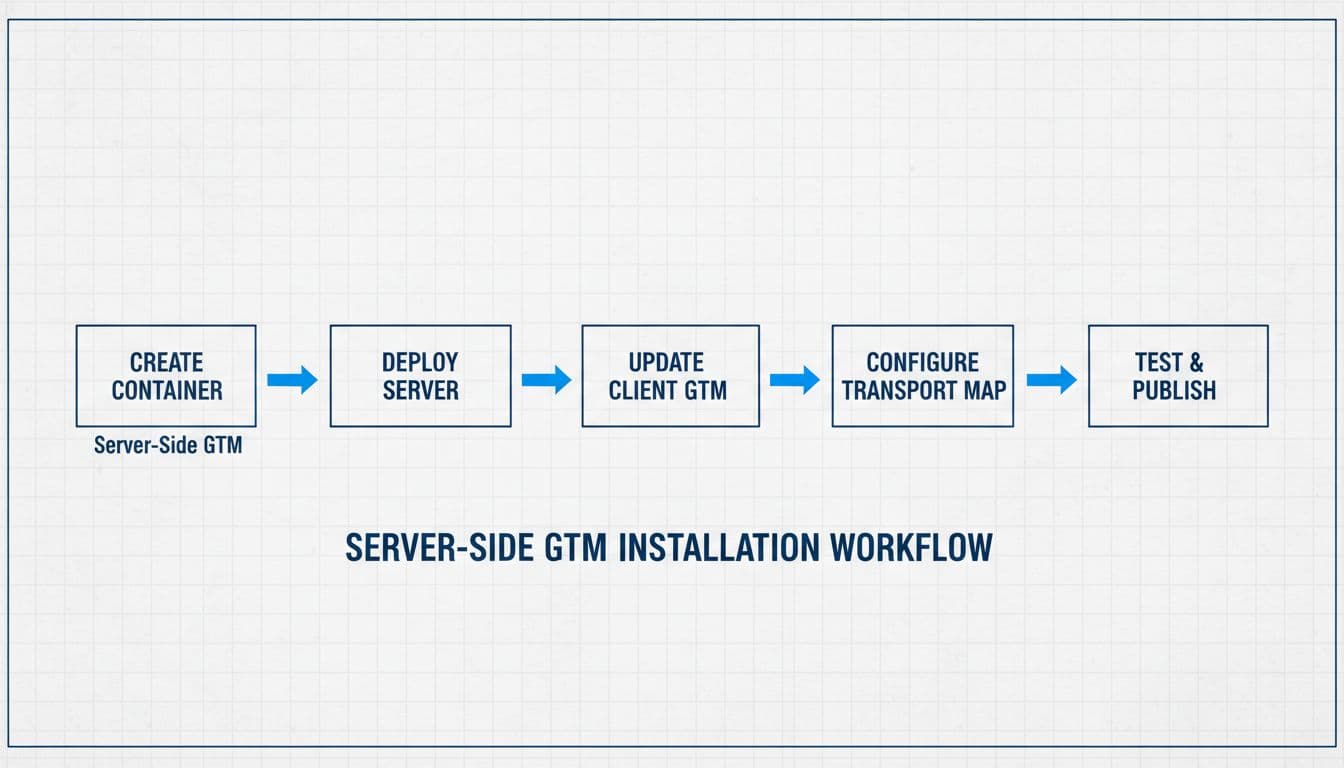
Separate lead events from GTM trigger names
Google Tag Manager gives teams freedom, but it can also create naming confusion. Whether you utilize Google Tag Manager or a direct gtag.js implementation, the underlying naming logic must remain consistent. A trigger name, a data layer event, and a GA4 event name do not need to match exactly.
For example, a developer could push this data layer event after a successful HubSpot submission:
lead_form_success
Google Tag Manager can listen for that signal, validate the form details, and send the GA4 event as generate_lead.
That separation is useful. Developers can use descriptive technical names that fit their codebase, while analytics teams can preserve a consistent GA4 taxonomy. A primary goal for any data team is to consolidate event names across different platforms to maintain a single source of truth.
A clean setup might look like this:
| Layer | Example name | Main purpose |
|---|---|---|
| Data layer event | lead_form_success | Signals a successful website action |
| GTM tag name | GA4 - Generate Lead | Identifies the tag in GTM |
| GA4 event name | generate_lead | Powers reports and key events |
| CRM lifecycle stage | marketing_qualified_lead | Tracks sales readiness |
Keep a shared measurement document that records all four layers. Include the event name, trigger logic, parameters, owner, destination, and QA status.
This document becomes especially helpful during website development projects. A new page template can inherit the same tracking rules instead of creating a fresh set of one-off events.
It also reduces friction between developers and marketers. Developers do not need to guess which conversion name paid media relies on, and marketers do not need to inspect JavaScript to understand why an event fired.
Define key events by business value
GA4 calls important business actions “key events.” Marking an event as a key event makes it easier to report on and can support Google Ads conversion workflows.
However, too many key events blur the picture. If every engagement action counts as a conversion event, campaign optimization can favor cheap clicks over real leads. Marking an action as a conversion event in GA4 fundamentally changes how it is treated in your attribution and bidding models, so be selective.
For most lead generation sites, key events usually include:
- A successful contact, quote, or demo request
- A confirmed appointment or meeting booking
- A verified inbound phone call, if your call-tracking setup can confirm it
- A completed application, where applications are a core business goal
Actions such as form_start, view_pricing, and download_resource are useful funnel events. They usually should not sit beside a completed enquiry as equal conversion goals.
Assign a value to each key event when you have a defensible model. A booked consultation may have more value than a brochure download. If your sales data shows that certain lead types close at higher rates, reflect that difference in reporting.
Still, don't invent values to make dashboards look precise. Use a value only when it comes from historical lead quality, an agreed sales model, or actual revenue data.
For Google Ads, import the conversion action that best matches the bidding goal. A broad campaign may use generate_lead while your CRM sends qualified leads or closed deals back through offline conversion imports. Store click identifiers such as GCLID, along with the original conversion timestamp, in the CRM record.
That connection helps ads learn from leads sales accepted, not only leads a form accepted.
Track phone, chat, and booking actions with care
Lead forms are easy to recognize, but other lead paths require more judgment. Even if your site is not a traditional online store, you can draw inspiration from the way ecommerce events are structured to build a clear hierarchy for your service-based actions. If your business offers a wide variety of service packages, consider utilizing the items array and associated item parameters to allow for more granular reporting on specific service interests.
A tel: link click proves that a visitor tapped a phone number, but it does not confirm that a call connected or resulted in a lead. Name the event phone_click, then keep it separate from a confirmed call conversion.
Likewise, chat_start should capture the beginning of a conversation, not just a click that opens a widget. Tools such as Intercom, Drift, LiveChat, and HubSpot Chat may offer their own event hooks. Use them when possible, then map the action to your GA4 framework.
Calendar tools need similar discipline. A click on a button indicates intent, while a completed booking is the outcome that deserves the book_appointment label. Use this sequence when the tool supports it:
- Track the initial button tap as appointment_start.
- Track the provider's confirmation event as book_appointment.
- Pass event parameters like appointment_type and service_name where available.
- Mark only the confirmed booking as a key event.
This distinction prevents inflated conversion counts. It also shows whether people abandon the scheduling flow because available times, form length, or the device experience creates friction.
For Social Media Marketing, the same taxonomy helps compare paid social traffic with organic audiences. A click from Instagram may drive more chat starts, while LinkedIn traffic may book more consultations. Shared event names make that comparison possible without rebuilding every report.
Make event naming useful for SEO, GEO, and AEO
GA4 event names do not directly improve rankings in Google Search. They do, however, show which content and page structures create meaningful next steps after organic visibility.
For SEO, measure the content journey. A visitor may land on an informational article, view a service page, then submit a lead form. Events such as view_service, cta_click, form_start, and generate_lead reveal that path. To gain deeper insights, use the Explorations feature in GA4 to build custom pathing reports that visualize how informational content leads to conversion, effectively turning your data into an analysis hub for lead behavior.
Connect GA4 with Google Search Console to compare search queries and landing pages with on-site outcomes. Search Console shows discovery, while GA4 shows what users do after the click.
GEO and AEO work also benefit from cleaner measurement. Pages built to answer direct questions may attract visitors from AI-generated search summaries, answer engines, and long-tail searches. Track whether those visits read the answer, move to a service page, or contact your team.
Use page_type and content_topic parameters carefully if you publish a large knowledge base. Then compare lead actions across service pages, local pages, comparison pages, and FAQ content.
A local service page may generate fewer sessions than a broad blog post but produce more phone_click or generate_lead events. That is a better signal for content priorities than pageviews alone.
Clear event data also supports digital marketing reporting across channels. It gives teams one definition of a lead whether the visitor arrived through organic search, paid search, referral traffic, email, or social media.
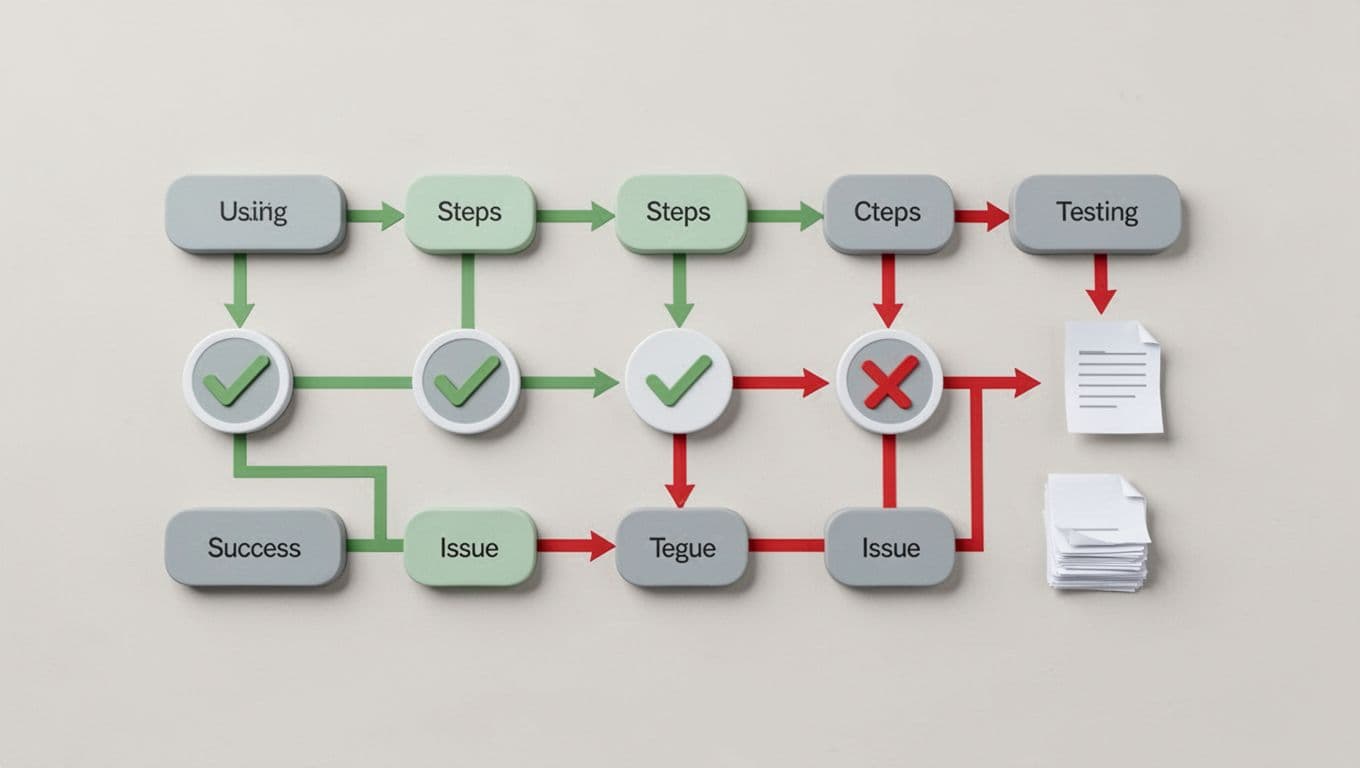
Test every event before publishing changes
Event naming fails when teams assume a tag fired correctly just because it appears in a preview window. A useful QA process checks the action, the parameters, and the final reporting destination.
Use Google Tag Manager Preview mode to confirm trigger conditions. Then, check GA4 DebugView to see the event name and parameter values arrive in real time. Test the same action on both desktop and mobile, as sticky buttons, embedded forms, and consent settings often behave differently across devices.
Document the expected behavior before testing. For a quote form, the expected result might be one form_start when the user begins, and one generate_lead only after the form submits successfully.
Watch for duplicate events. Common causes include a form plugin's built-in GA4 integration running alongside a GTM tag, multiple Google tags on the page, or a thank-you page that fires again after a browser refresh. If you identify minor naming errors after implementation, you can use the GA4 interface to modify events to correct these labels without requiring immediate developer intervention.
Also, test consent behavior carefully. If your site uses a consent management platform, event collection may change based on visitor choices and regional rules. Your reports should reflect that reality rather than silently mixing tracked and untracked sessions.
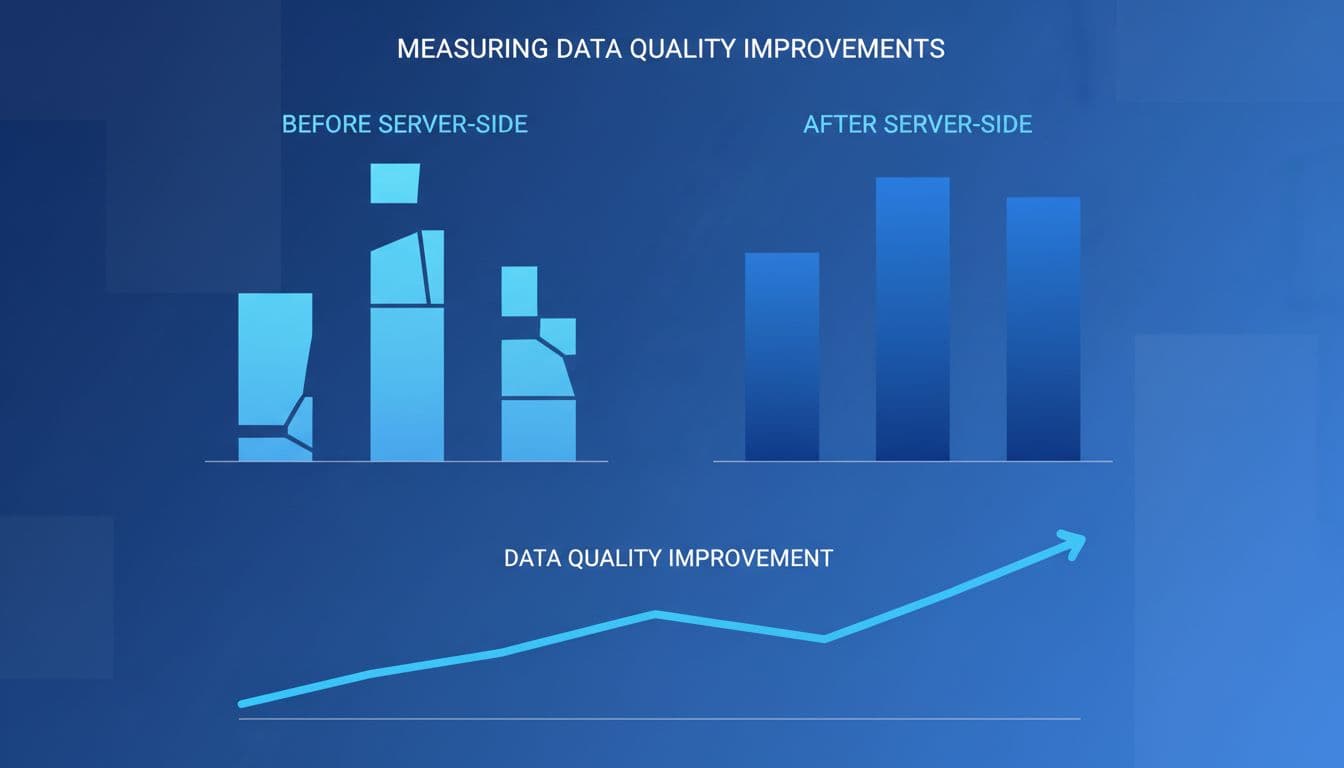
After launch, review event volume against CRM submissions. A small difference is expected due to consent settings, ad blockers, or abandoned redirects, but a large discrepancy requires investigation.
If your team needs help connecting website events, GA4, CRM stages, and ad-platform reporting, Get In Touch With Us.
Maintain a naming system as the website grows
A naming framework needs an owner. Without one, every new landing page, form tool, and campaign can introduce another variation.
Give analytics ownership to a named person or small group. They should approve new event names, manage the measurement document, and review changes before publishing. Before creating a custom event, always check the Google Analytics documentation for recommended events to see if a standard name already exists for your specific user action. Relying on these standards is more stable than relying solely on automatic collection, which may not capture the granular lead data your team needs.
Set a short review cadence. Monthly reviews catch duplicate events, unused custom dimensions, and new lead paths. Quarterly reviews can compare event definitions with the sales process and campaign strategy.
When a business adds a new service, first ask whether it changes the user action or only the context. A new service usually needs a new parameter value, not a brand-new event. For example, both an SEO consultation and a PPC consultation can use a primary event like generate_lead. You can then use event parameters to explain the service, which keeps historical reports consistent as offers change.
In some cases, lead-gen teams can improve their reporting by adopting the logic found in ecommerce events, particularly when tracking high-value service-level transactions. By mapping your services to a structured schema, you ensure that as the business scales, your data remains clean and actionable.
Names should remain stable because they become part of your reporting infrastructure. Changing a fundamental event name may seem harmless, but it breaks comparisons, audiences, and Google Ads setups unless you update every connected system.
Frequently Asked Questions
Why shouldn't I use the specific name of my form or tool in the event name?
Including tool-specific details like hubspot_form_17 makes your data brittle. If you change your CRM or redesign your form, your historical reporting breaks; using a generic action name like generate_lead ensures your data remains consistent regardless of technical backend changes.
Should I track every button click as an event?
No, you should map your event strategy to the actual customer journey and business intent. Focus on tracking meaningful milestones like form starts, document downloads, or appointment bookings to keep your GA4 dashboard focused on performance metrics that actually matter to your sales team.
What is the best way to handle sensitive user data?
Never pass personally identifiable information (PII) such as names, emails, or phone numbers into GA4 event parameters. GA4 should contain anonymous behavioral patterns, while sensitive lead details should be stored securely within your dedicated CRM system.
How often should I review my event naming convention?
Analytics teams should perform a quick audit monthly to catch duplicates or errors, and a more comprehensive quarterly review to ensure event definitions still align with current sales processes. Establishing a single owner for your measurement document prevents “event drift” as the website grows.
Final thoughts
Good GA4 event names make lead reporting easier to trust. They connect user actions to real business outcomes without filling reports with technical clutter. By establishing a robust GA4 event naming protocol, you ensure that your data remains organized and actionable as your tracking requirements evolve.
Remember that the richness and accuracy of your marketing insights depend on the thoughtful application of event parameters to capture essential context. This structured approach is ultimately what separates sophisticated measurement setups from the legacy limitations of Universal Analytics. Clean measurement gives every channel a clearer path from traffic to revenue, allowing your team to focus on growth rather than troubleshooting messy data.