A missed call is rarely “just” a missed call anymore. For a service business, it's often a hot lead, a same-day job, or a booking that goes to the next company on Google.
That is why missed call text back systems matter so much in 2026. If you answer fast, sound human, and give the caller one easy next step, you can recover leads that used to disappear.
Why Missed Call Text Back Drives More Bookings in 2026

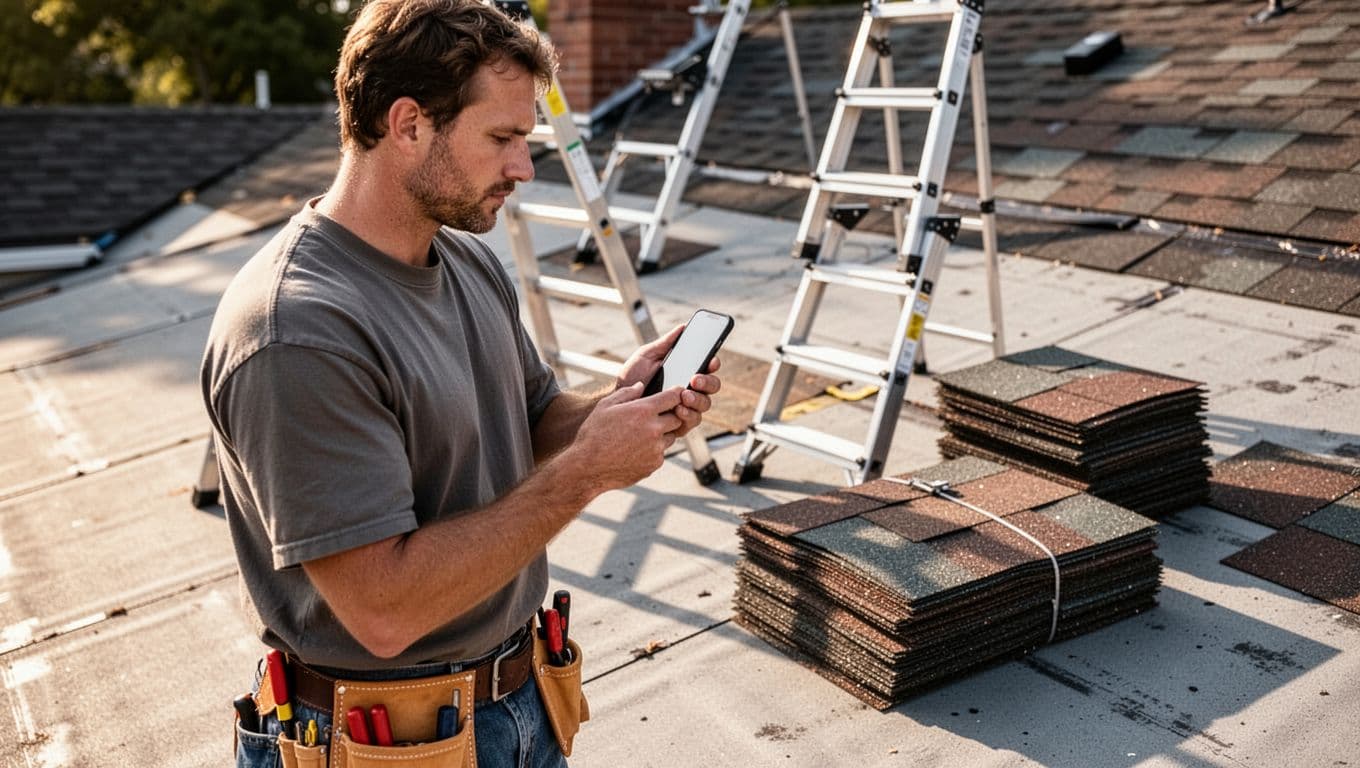
Recent 2026 phone-service benchmarks put the average missed inbound call rate around 22%. In busy categories, especially after 6 PM, the rate climbs much higher. That fits real life. HVAC techs are on rooftops, plumbers are under sinks, electricians are in crawl spaces, and salon owners are with clients.
Meanwhile, the customer is still holding the phone. If they don't hear back fast, they move on. NextPhone's 2026 setup guide reports that many missed callers never try again, which is why speed matters more than a polished voicemail.
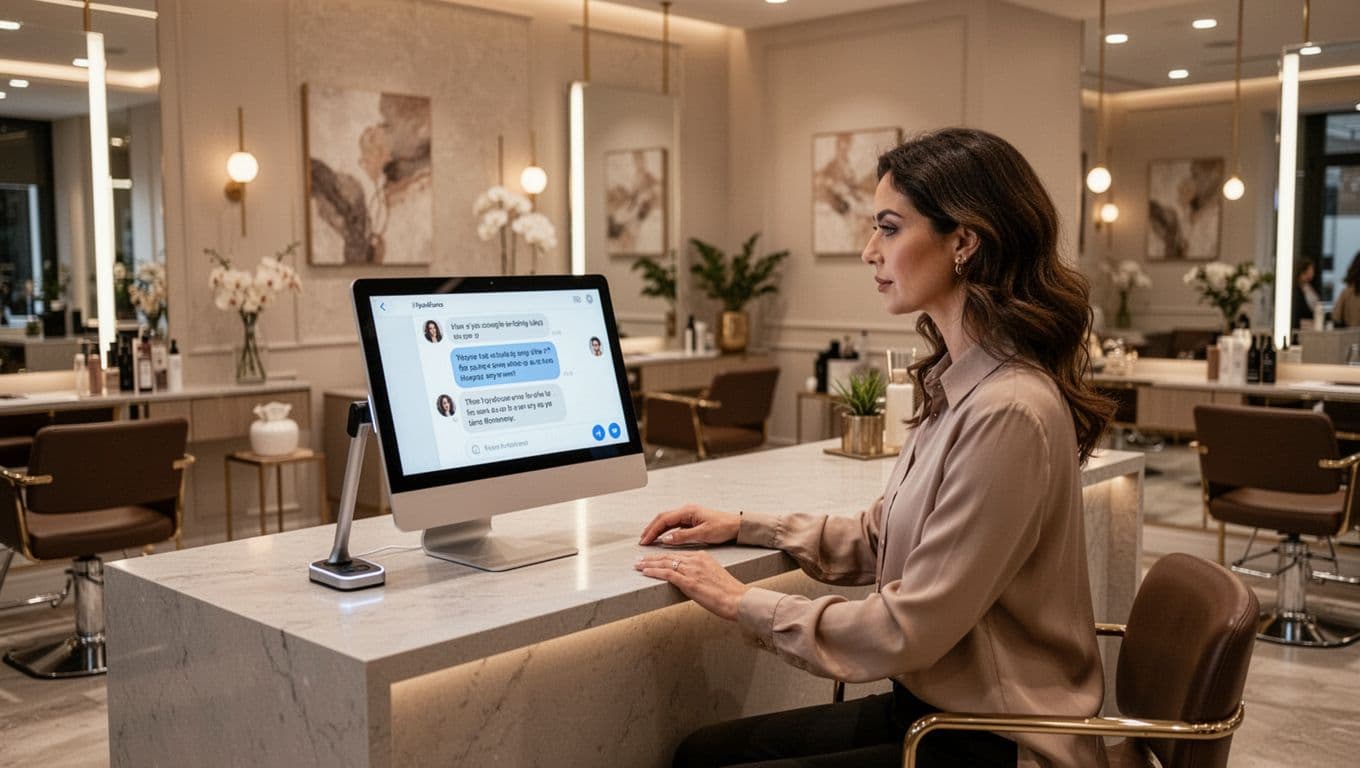
A text works because it meets people where they already are. SMS messages still get opened fast, and a short reply feels easier than leaving a voicemail or waiting on hold. For roofing, home services, legal intake, medical scheduling, and salons or spas, that quick reply can be the bridge between interest and a booked appointment.
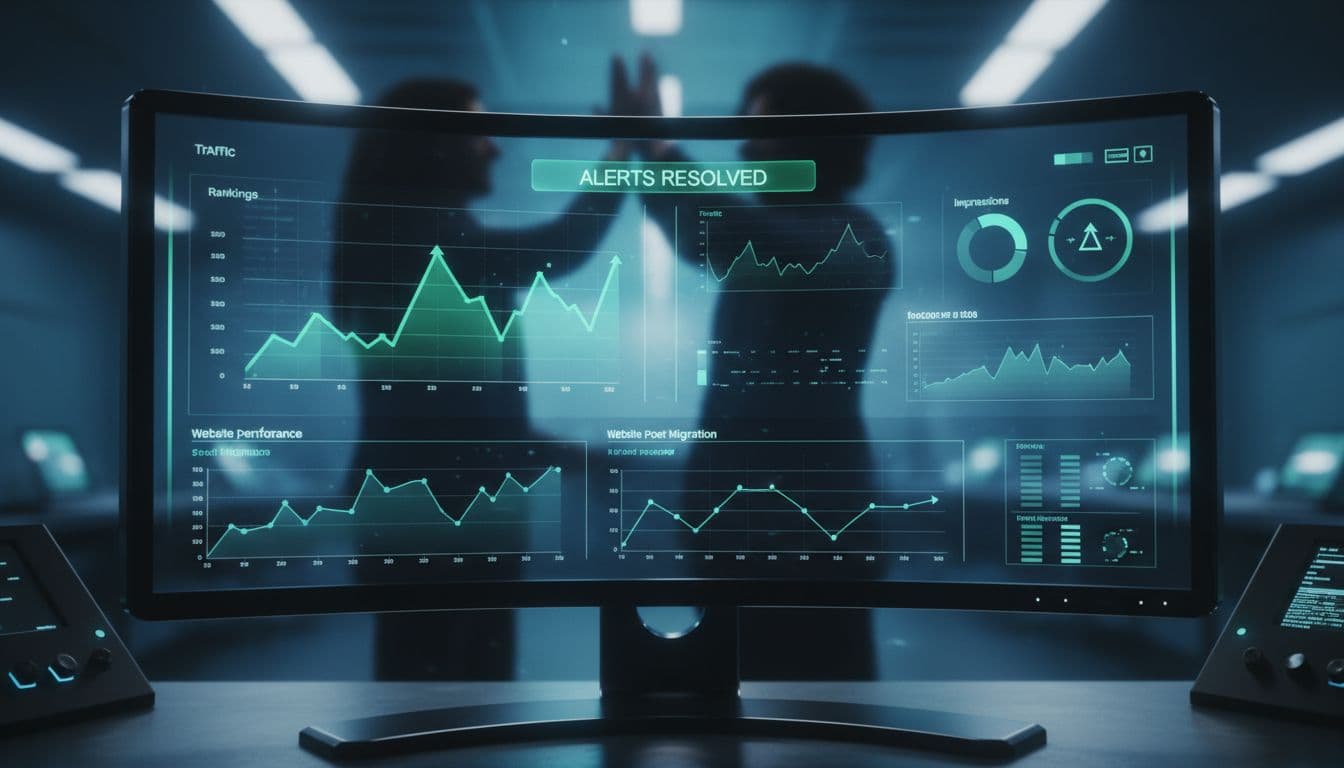
If your DIgital Marketing already drives calls through SEO, Performance Marketing, Social Media Marketing, and strong Website Development, every unanswered ring wastes money. That is why phone response belongs inside your wider digital marketing services, not off to the side.
In 2026, speed-to-lead means seconds, not “we'll call you tomorrow.”
Essential Best Practices for Quick Text Responses

The first text should go out in 5 to 30 seconds. Signpost's 2026 follow-up guide points to that range for the best results. Anything slower starts to feel like a cold lead.
Keep that message simple. State your business name, acknowledge the missed call, and offer one clear next step. Don't send a paragraph. Don't add three links. Don't sound like a campaign.
For example, an HVAC company can ask if the issue is urgent and offer a callback. A salon can send a booking link. A plumbing company can ask for the zip code and problem type. Electricians can route “power out” or “burning smell” replies to the on-call tech. Roofing companies can offer photo upload or inspection scheduling after storms.
Compliance matters too. Your first message should stay tied to the inbound call, not drift into promotion. Register your texting number for A2P 10DLC, keep consent logs, honor opt-outs, and avoid quiet-hour texting. For legal and medical offices, keep the first reply narrow. Ask to schedule a callback, not for case details or protected health information.
A good missed-call text-back flow feels like a receptionist who is quick, calm, and helpful.
Step-by-Step Setup for Your Missed Call Text Back System

You don't need a huge stack to make this work, but you do need a clear workflow.
- Pick what counts as a missed call.
Set the rule by ring time, business hours, team availability, or unanswered transfers. A lunch-hour miss should trigger the same way as an after-hours miss. - Connect your phone, SMS, CRM, and calendar.
The text-back tool should write to the contact record, tag the source, and sync with booking slots. If you run ads, Google Business Profile calls, or local SEO, source tracking matters. - Write one primary message and two follow-ups.
Send the first text right away. Then send one short nudge after a few minutes if there is no reply. Add one final follow-up the next morning for non-urgent leads. - Build routing rules.
If a caller replies “urgent,” alert the on-call team. If they reply “book,” send the scheduling link. If they ask a detailed question, hand it to a human. - Match the text to the landing page.
Your booking page, form, and phone script should sound like the same business. That is where strong Website Development helps. The same conversion discipline you see in real SEO case studies also applies to phone leads.
Most owners overbuild the tech and underbuild the message. Start with one clear workflow, then improve it.
Proven Text Templates for Home Services and More
Good templates are short, direct, and easy to answer. These contractor-focused text-back examples follow the same pattern: acknowledge, guide, and move toward booking.
- HVAC: “Hi, this is Northside HVAC. Sorry we missed your call. Is this urgent? Reply HEAT, AC, or CALLBACK and we'll respond ASAP.”
- Plumbing: “Thanks for calling Rapid Rooter. Sorry we missed you. Reply LEAK, CLOG, or WATER HEATER, and we'll text back with next steps.”
- Electrician: “You reached BrightWire Electric. Sorry we missed your call. Reply URGENT if there is no power or a safety issue, or reply CALLBACK.”
- Roofing: “Hi from Summit Roofing. Sorry we missed your call. Reply INSPECTION or REPAIR and we'll help you book the right visit.”
- General home services: “Thanks for calling HomeFix Pro. We missed your call, but we're here. Reply with your service need and zip code, and we'll text back shortly.”
- Legal office: “Thank you for calling Carter Law. We missed your call. Reply CALLBACK with the best time to reach you. Please don't send case details by text.”
- Medical practice: “Thanks for calling Westside Clinic. We missed your call. Reply APPOINTMENT or CALLBACK and our team will follow up soon. Please don't text medical details.”
- Salon or spa: “Hi from Willow Spa. Sorry we missed your call. Reply BOOK for our online scheduler or CALLBACK if you'd like help choosing a service.”
Keep each message short enough to read at a glance. One action beats three.
Automation Tools That Feel Personal
Automation should handle the first mile, not fake the whole relationship. The best systems sound calm and useful because they ask only what is needed, then hand off cleanly.
That means your workflow can ask one or two smart questions. A plumber might ask, “Is water shut off?” A salon can offer open time slots. A legal office can capture name and callback time. A medical clinic can route scheduling to staff without collecting private details by text.
After that, let a person step in when the conversation gets specific. This missed-call text-back automation guide gets the point right: good automation qualifies, routes, and books, instead of trapping people in a dead-end reply chain.
Use separate paths for daytime, after-hours, and weekends. Also, write like a person. “How can we help?” beats robotic lines like “Your inquiry has been received and is being processed.”
Measure and Boost Your Text Back Performance

Track a few numbers every week so the system keeps improving.
| Metric | What to watch | Why it matters |
|---|---|---|
| Text send time | Aim for 5 to 30 seconds | Speed keeps the caller warm |
| Missed calls by hour | Lunch, evenings, weekends | Shows where leads leak |
| Reply rate | By source and service line | Tells you if the message works |
| Booked-job rate | Calls to appointments or jobs | Shows real revenue impact |
Also compare daytime and after-hours results. SchedulingKit's 2026 missed-call guide says businesses can recover a meaningful share of lost leads with instant text-back, far more than voicemail alone.
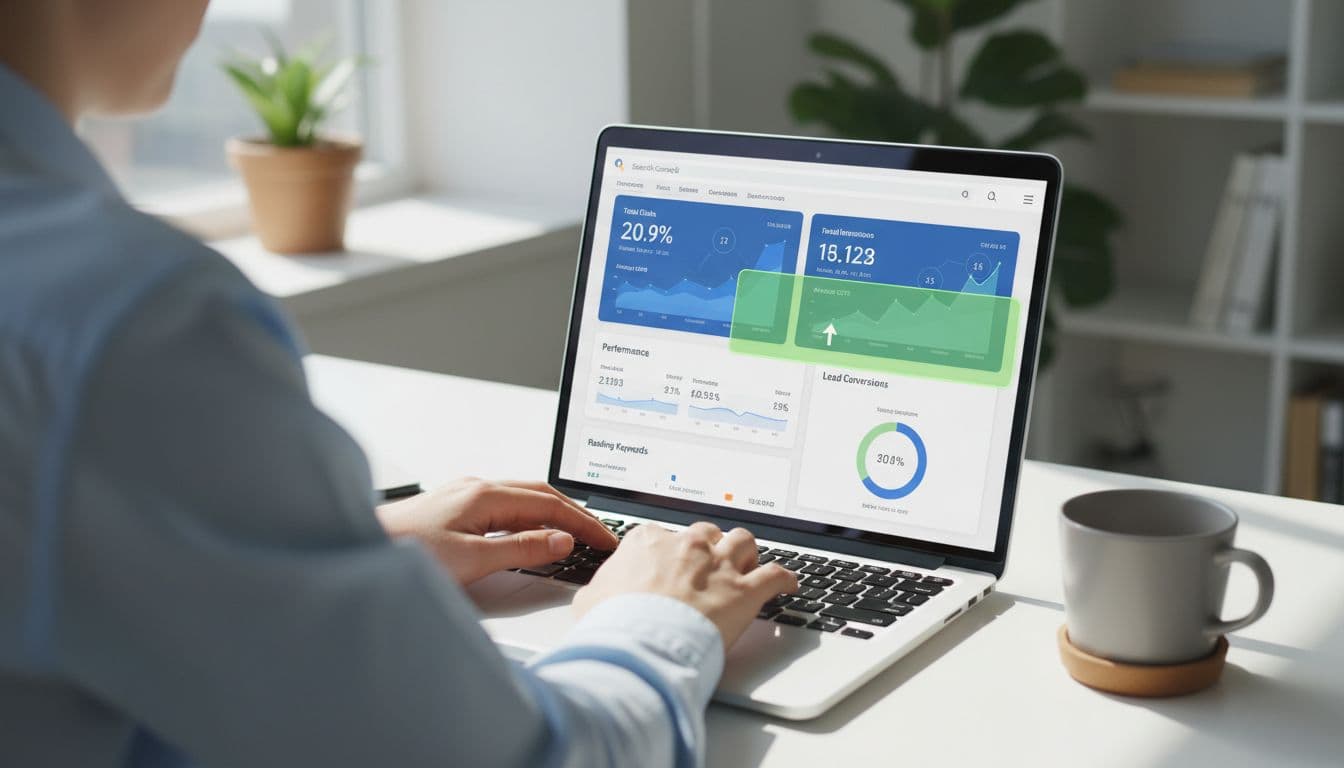
Tie those numbers back to channel data. If SEO drives calls that book well, protect that source. If Performance Marketing generates calls that go unanswered on weekends, fix staffing or routing. Phone response is not separate from marketing. It is part of conversion.
Turn the Next Missed Call Into a Booked Job
The businesses that win more calls in 2026 are not always the loudest. They are often the fastest, the clearest, and the easiest to reply to.
A strong missed-call text-back system protects the leads you already paid for, keeps after-hours demand from slipping away, and turns silence into bookings. If you want help connecting your calls, forms, ads, and follow-up flows, Get In Touch With Us.