

Someone downloads your guide or claims an offer, then hears nothing from your business. That gap wastes interest you’ve already earned.
A welcome email sequence gives new subscribers a useful next step while your business is fresh in their minds. We recommend starting with five focused emails over ten days, then shortening the flow when someone buys or books.
Start with the signup promise, because every later message depends on delivering it.
Key Takeaways
- Send the promised resource immediately, then use five focused emails over ten days as a manageable starting schedule.
- Give each email one clear purpose, from teaching a practical solution to answering objections and inviting a relevant next step.
- Tailor the sequence to the subscriber’s signup source, preferences, and actions. Remove buyers from acquisition offers, and pause sales messages when someone replies or books.
- Set up and test automation triggers, delays, exclusions, and exit conditions before launch. Keep promotional consent explicit and separate from an enquiry.
- Track clicks, unsubscribes, complaints, purchases, bookings, and retention by signup source, then revise messages based on results across several cohorts.
What a Welcome Email Sequence Does

A welcome email series is a sequence of automated emails sent after someone signs up for your email list. The opt-in moment is usually when their excitement and attention are highest.
Each message should move the subscriber toward one useful action, such as reading a guide, choosing a product, or booking a consultation.
However, subscribers arrive with different knowledge. Eugene Schwartz’s awareness stages help you match the message: Completely Unaware, Problem Aware, Solution Aware, Product Aware, and Most Aware.
A checklist subscriber may need education first. Someone requesting a discount may already understand your products and want buying details. Your sequence should respect that difference rather than force everyone through identical lessons.
Why a Fast Welcome Flow Pays Off
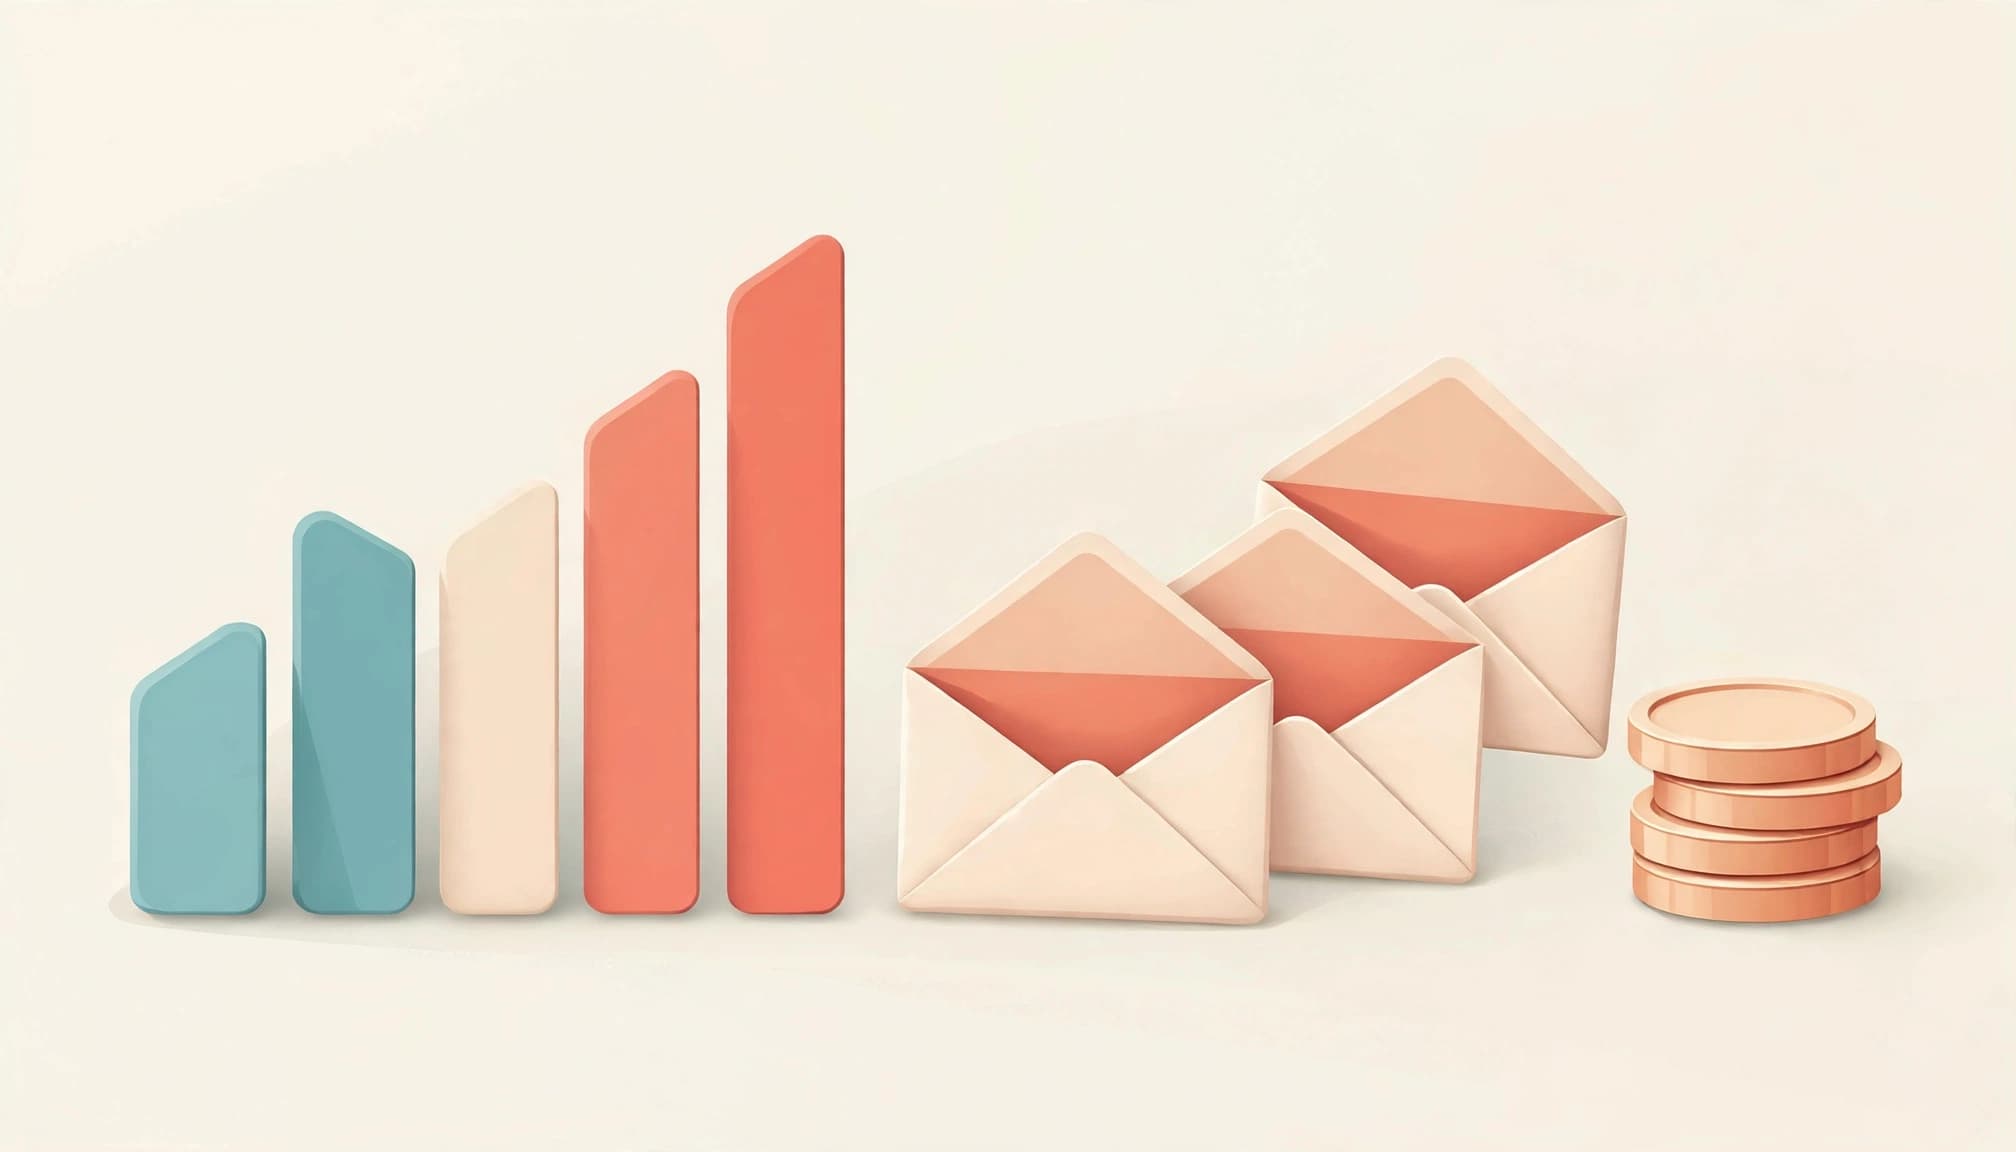
Ciceron’s historical First Impressions Email Marketing Study found that only 39% of brands sent a welcome email. Meanwhile, 41% sent nothing within 48 hours, and 27% sent nothing during the first three weeks. ActiveCampaign’s welcome series guide reports those findings, which illustrate the cost of leaving signup follow-up unmanaged.
More recently, Klaviyo’s welcome email benchmarks cite its 2026 Omnichannel Benchmarks Report: the average click rate is 6.5%, versus 13.3% for top performers. Average revenue per recipient is $5.75, compared with $13.27 for top-performing welcome emails.
Compare your own click rate with those benchmarks as context, not as a revenue forecast for a Kolkata business. Your prices, audience, and conversion goal will differ.
Mailchimp reports that a series of welcome emails produces 51% more revenue on average than a single welcome email.
Selling earlier can also work. ActiveCampaign describes Graham Cochrane increasing revenue by 89% after moving his pitch earlier. Still, that example supports testing an earlier offer, not sending every subscriber an immediate hard sell. Match the offer to what they requested.
Choose the Length and Timing
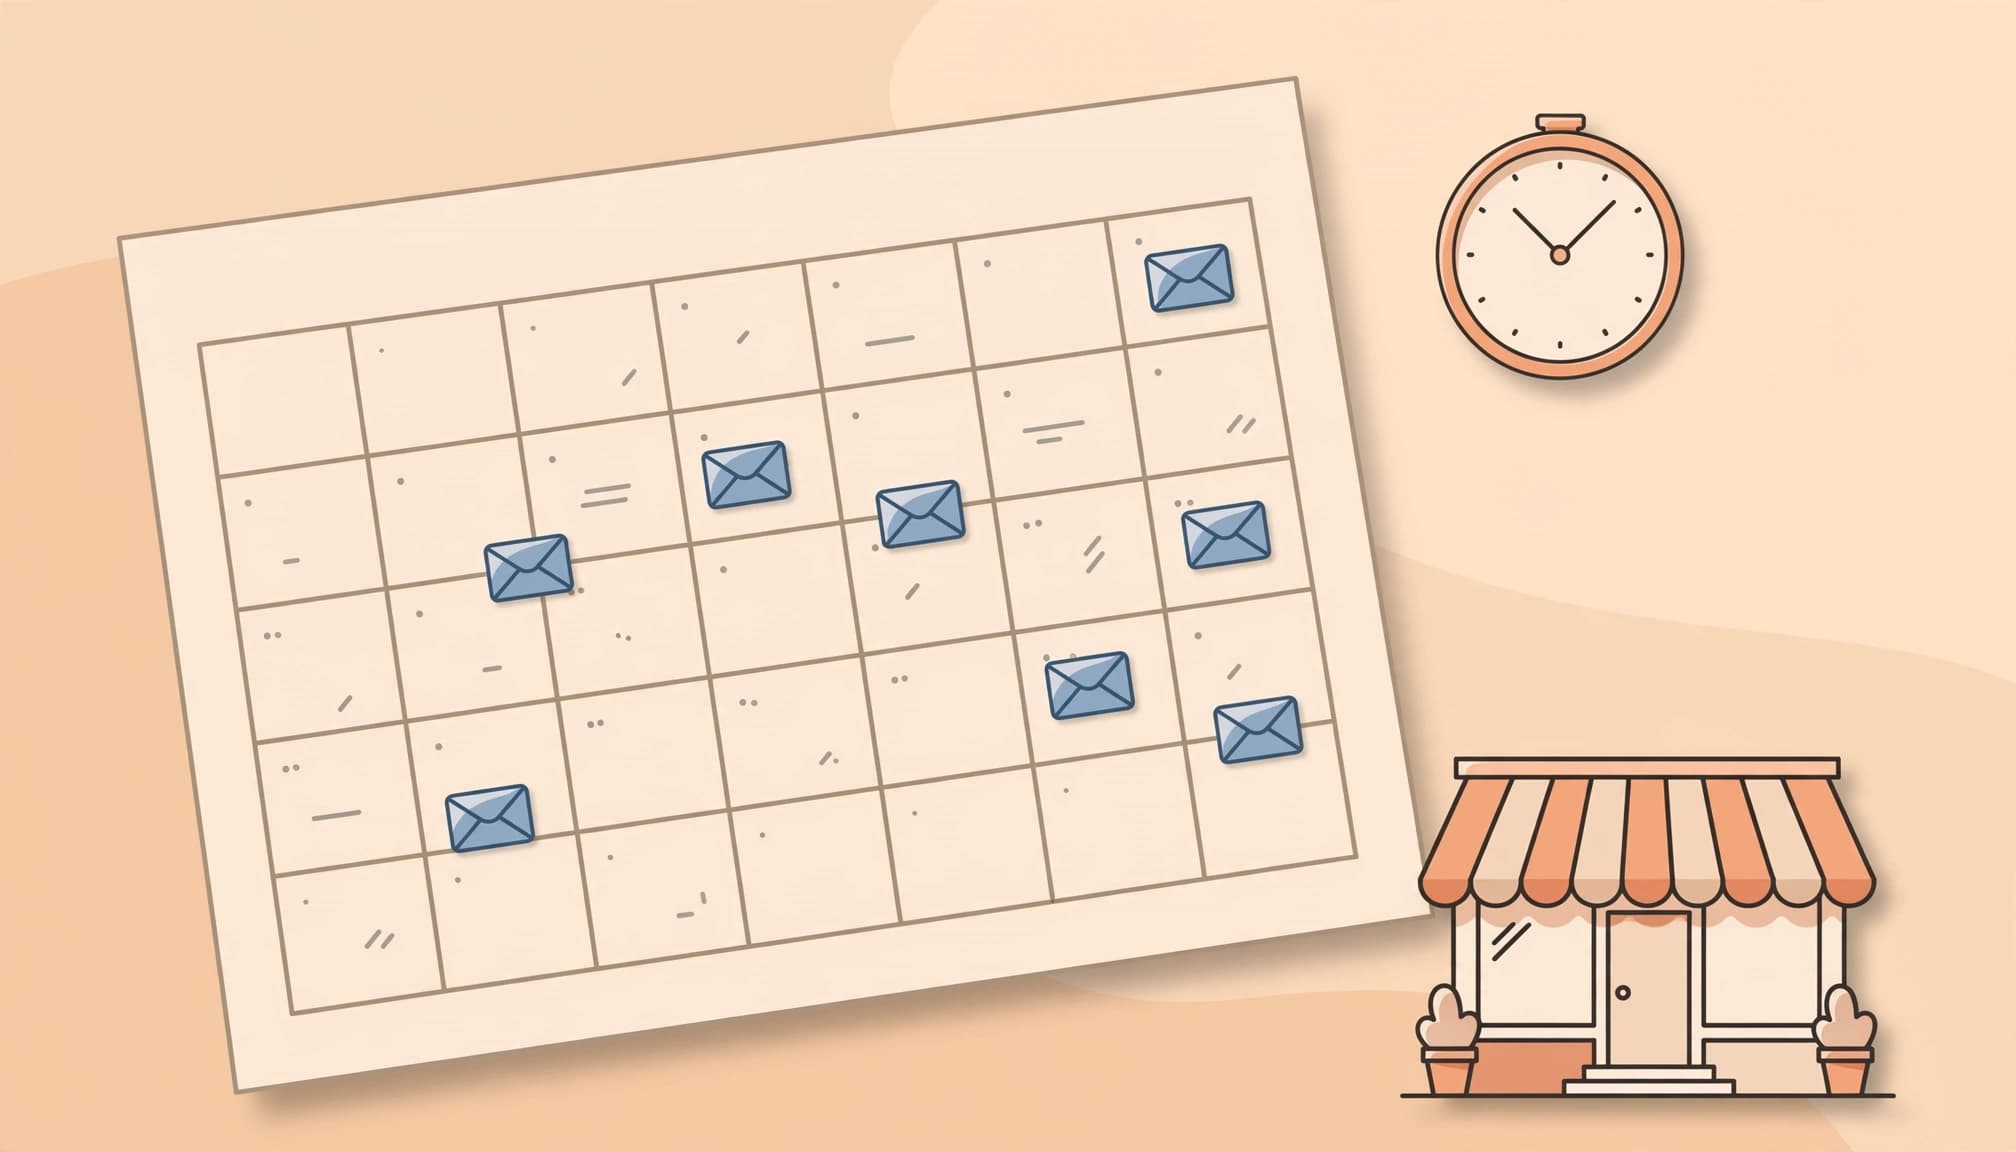
For a manageable welcome email series, ActiveCampaign recommends four to six welcome emails. Five gives a small business enough room to assign each message a distinct purpose.
Alexa Maltzer of Power Digital Marketing says most people purchase within ten days of subscribing. Use that window as a starting point, rather than a universal buying deadline.
Here’s a manageable initial schedule.
| Send time | |
|---|---|
| Deliver the promise | Immediately after confirmed signup |
| Explain the solution | Day 2 |
| Resolve objections | Day 4 |
| Showcase the offer | Day 7 |
| Add proof and next steps | Day 10 |
Keep at least one day between messages, as Klaviyo recommends. Also suppress welcome subscribers from regular promotional calendar sends to avoid overlapping campaigns.
Mailchimp’s classic welcome automation defaults to one day after subscription. Change that delay for immediate delivery, then add further messages through a series workflow.
Longer frameworks offer other options. Bloomreach’s seven-step framework uses immediate confirmation, brand story within 24 hours, showcase on days 3 to 4, education on days 5 to 7, social proof on days 8 to 10, a soft offer on days 12 to 14, and ongoing communication expectations.
Kit takes a more educational route: introduction, education, education with a product mention, soft sell, more education, hard sell, and upsell. Extend your flow only when those extra messages answer genuine buyer questions.
Build the First Two Welcome Emails
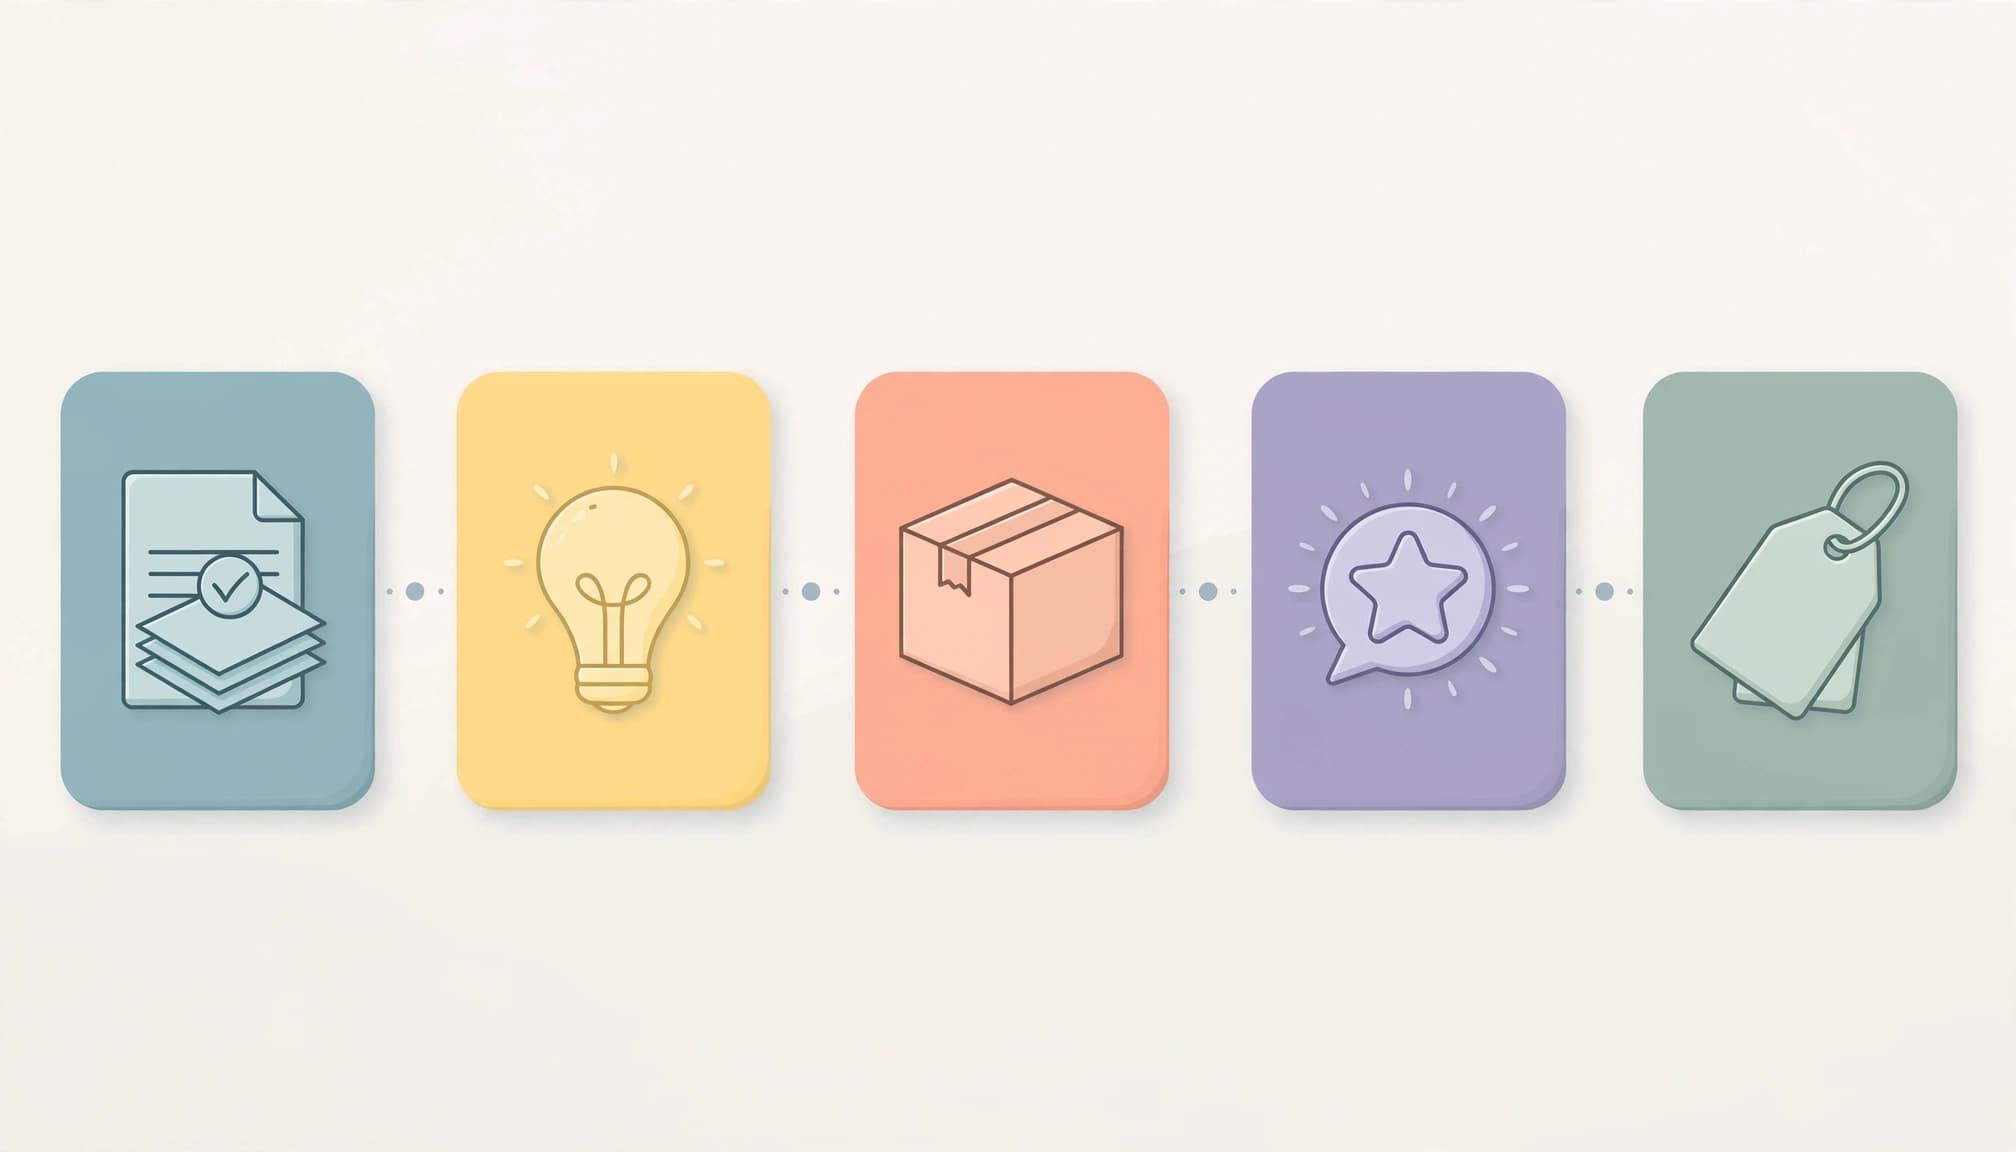
The opening messages establish trust through usefulness. Keep each email focused on one call to action, with supporting details underneath.
Email 1: Deliver What You Promised
Send the promised lead magnet, discount code, or resource immediately after the required signup confirmation. Put access near the top.
A simple opening works: “Thanks for signing up. Your guide is ready below. Over the next ten days, we’ll share practical tips and explain how we can help.”
Then give accurate expectations about frequency and content. If you promised a discount, include its genuine expiry and exclusions.
Use a recognizable sender name and a monitored reply address. Avoid burying the promised resource beneath your company history.
Email 2: Show a Practical Solution
On day two, show that a solution to the subscriber’s problem exists. Teach one useful action they can take before buying.
For a clothing business, explain how to use your size chart. For a service business, explain what information makes an enquiry easier to assess.
This moves Problem Aware readers toward Solution Aware. You can mention your approach, but keep the main action educational.
Link to one relevant resource rather than several unrelated articles. The email should remain useful even if the subscriber doesn’t purchase today.
Emails 3 to 5: Build Trust and Invite Action
The later messages connect what you’ve taught with a relevant offer. Keep the sales argument factual and specific.
Email 3: Address Objections and Introduce the Product
On day four, answer a genuine hesitation: price, suitability, delivery, required effort, or fear of choosing incorrectly.
Address guilt without creating more of it. Readers shouldn’t feel blamed for needing help or taking time to decide.
Next, introduce the product or service as a relevant solution. Explain who it’s suitable for and what the next step involves.
Use actual policies and capabilities. Don’t promise guaranteed outcomes or effortless results merely to overcome resistance.
Email 4: Make the Offer Feel Relevant

On day seven, showcase one offer or a tightly related selection. Explain how the subscriber should choose.
For ecommerce, connect products to their stated interests. For services, describe the scope and booking process.
Keep the landing page consistent with the email. A consultation invitation should lead to consultation details, not a homepage full of competing options.
You don’t need a discount. Clear inclusions and useful buying guidance can make the offer easier to evaluate.
Email 5: Add Proof and a Clear Next Step
On day ten, use genuine reviews, an approved case study, or documented results to support the offer.
Choose proof that answers the subscriber’s likely concern. Then repeat one clear action, such as shopping, replying, or booking.
Mention a deadline only when it exists. Avoid restarting countdowns or inventing limited availability.
Finally, explain what subscribers will receive after the welcome series ends. This makes the transition to your regular emails predictable.
Adapt the Sequence to Your Business Model
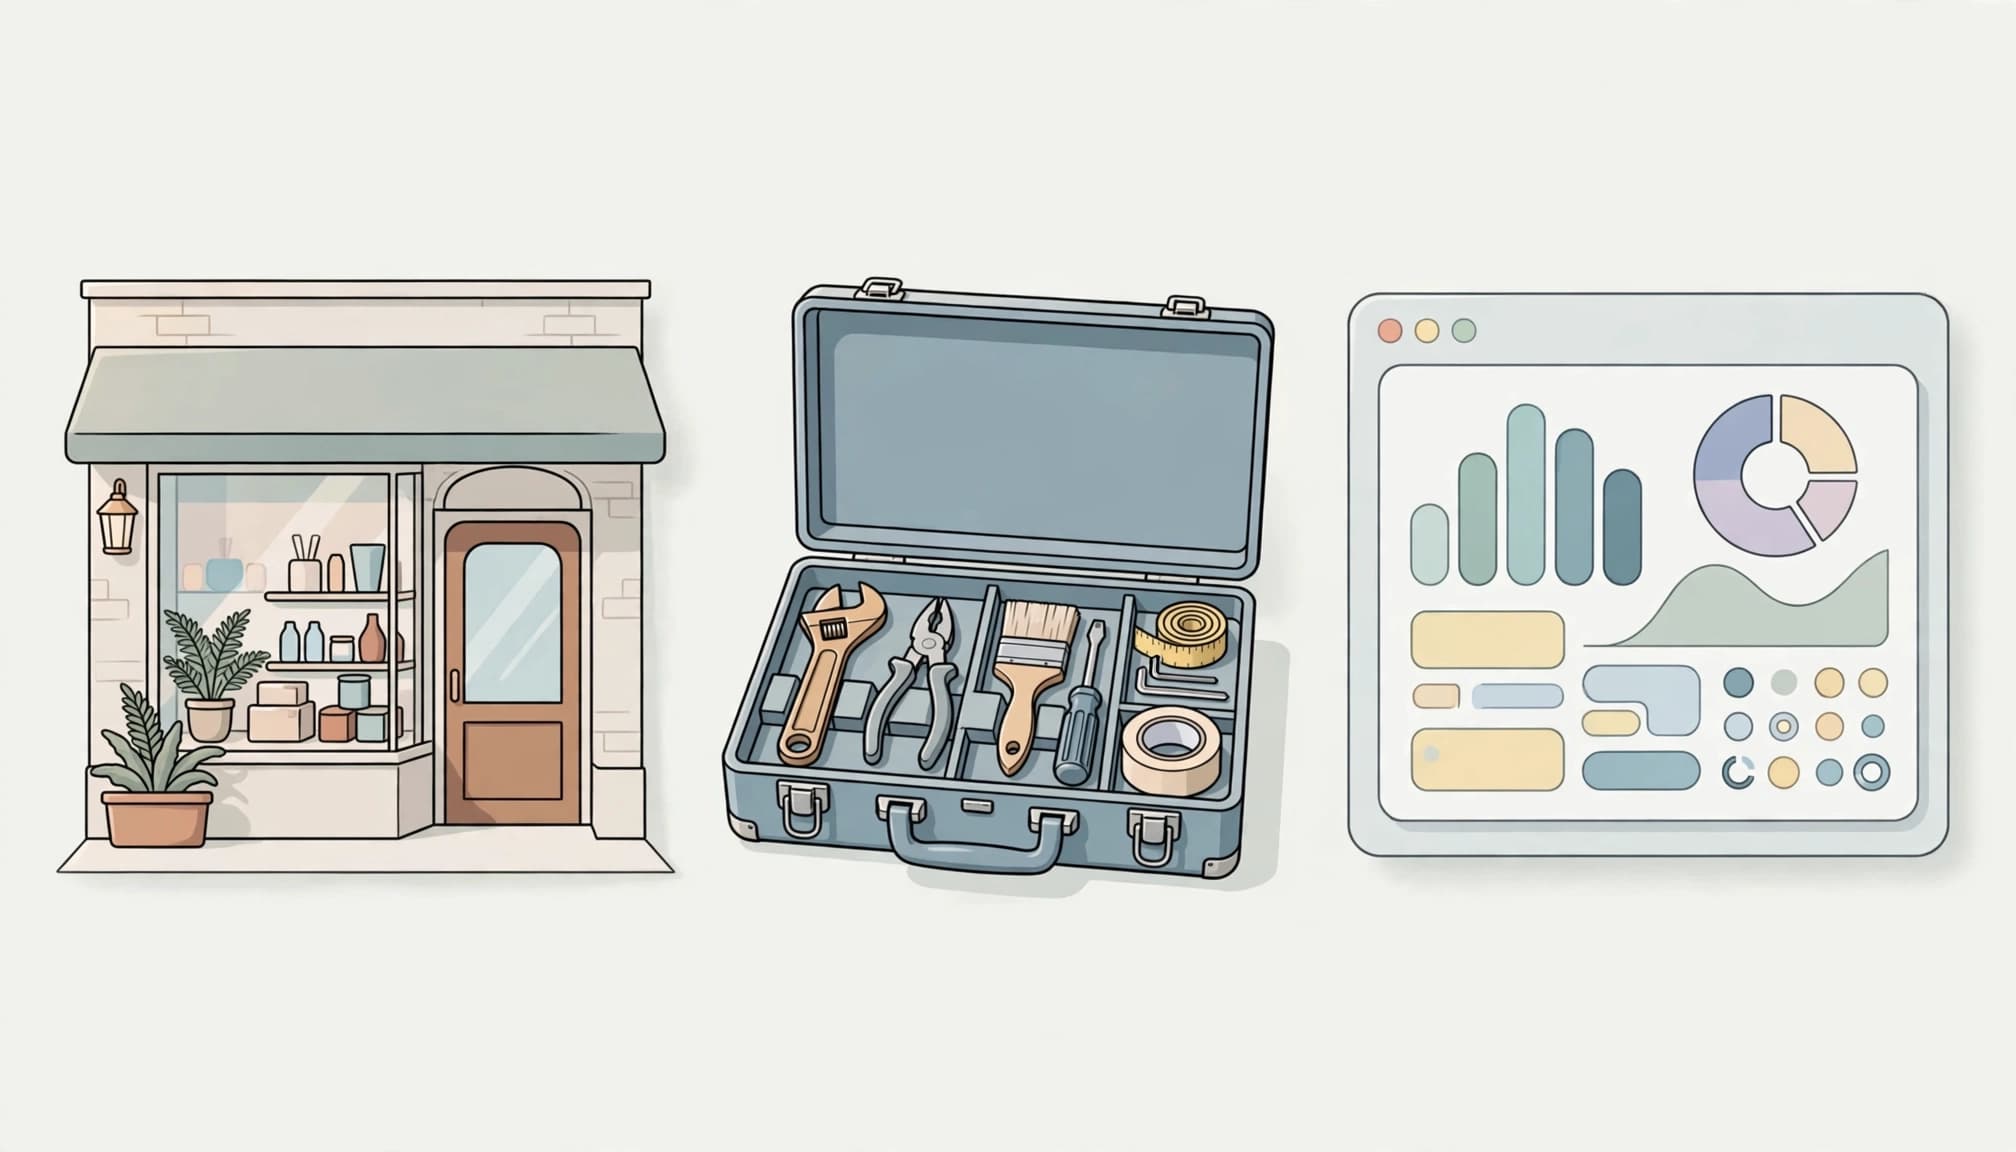
For a Kolkata retailer, prioritise product selection, delivery coverage, returns, and the signup offer. Once someone purchases, replace acquisition messages with appropriate post-purchase guidance.
A local service business should explain service areas, appointment preparation, and booking steps. However, an urgent enquiry needs a human response immediately; a welcome sequence can’t replace it.
For B2B services, use relevant case studies and consultation details. Connect replies and bookings to your CRM and establish a clear marketing and sales handoff so an interested lead has an owner.
For SaaS, focus on the first useful product action. Replace introductory lessons when the user completes them.
Also segment by acquisition source and stated language preference. Bengali and English versions should reflect the subscriber’s choice, not assumptions.
SEO can bring visitors to your signup page, but visiting or submitting an enquiry doesn’t grant marketing consent. Keep promotional opt-in explicit and separate.
Write, Automate, and Measure the Flow
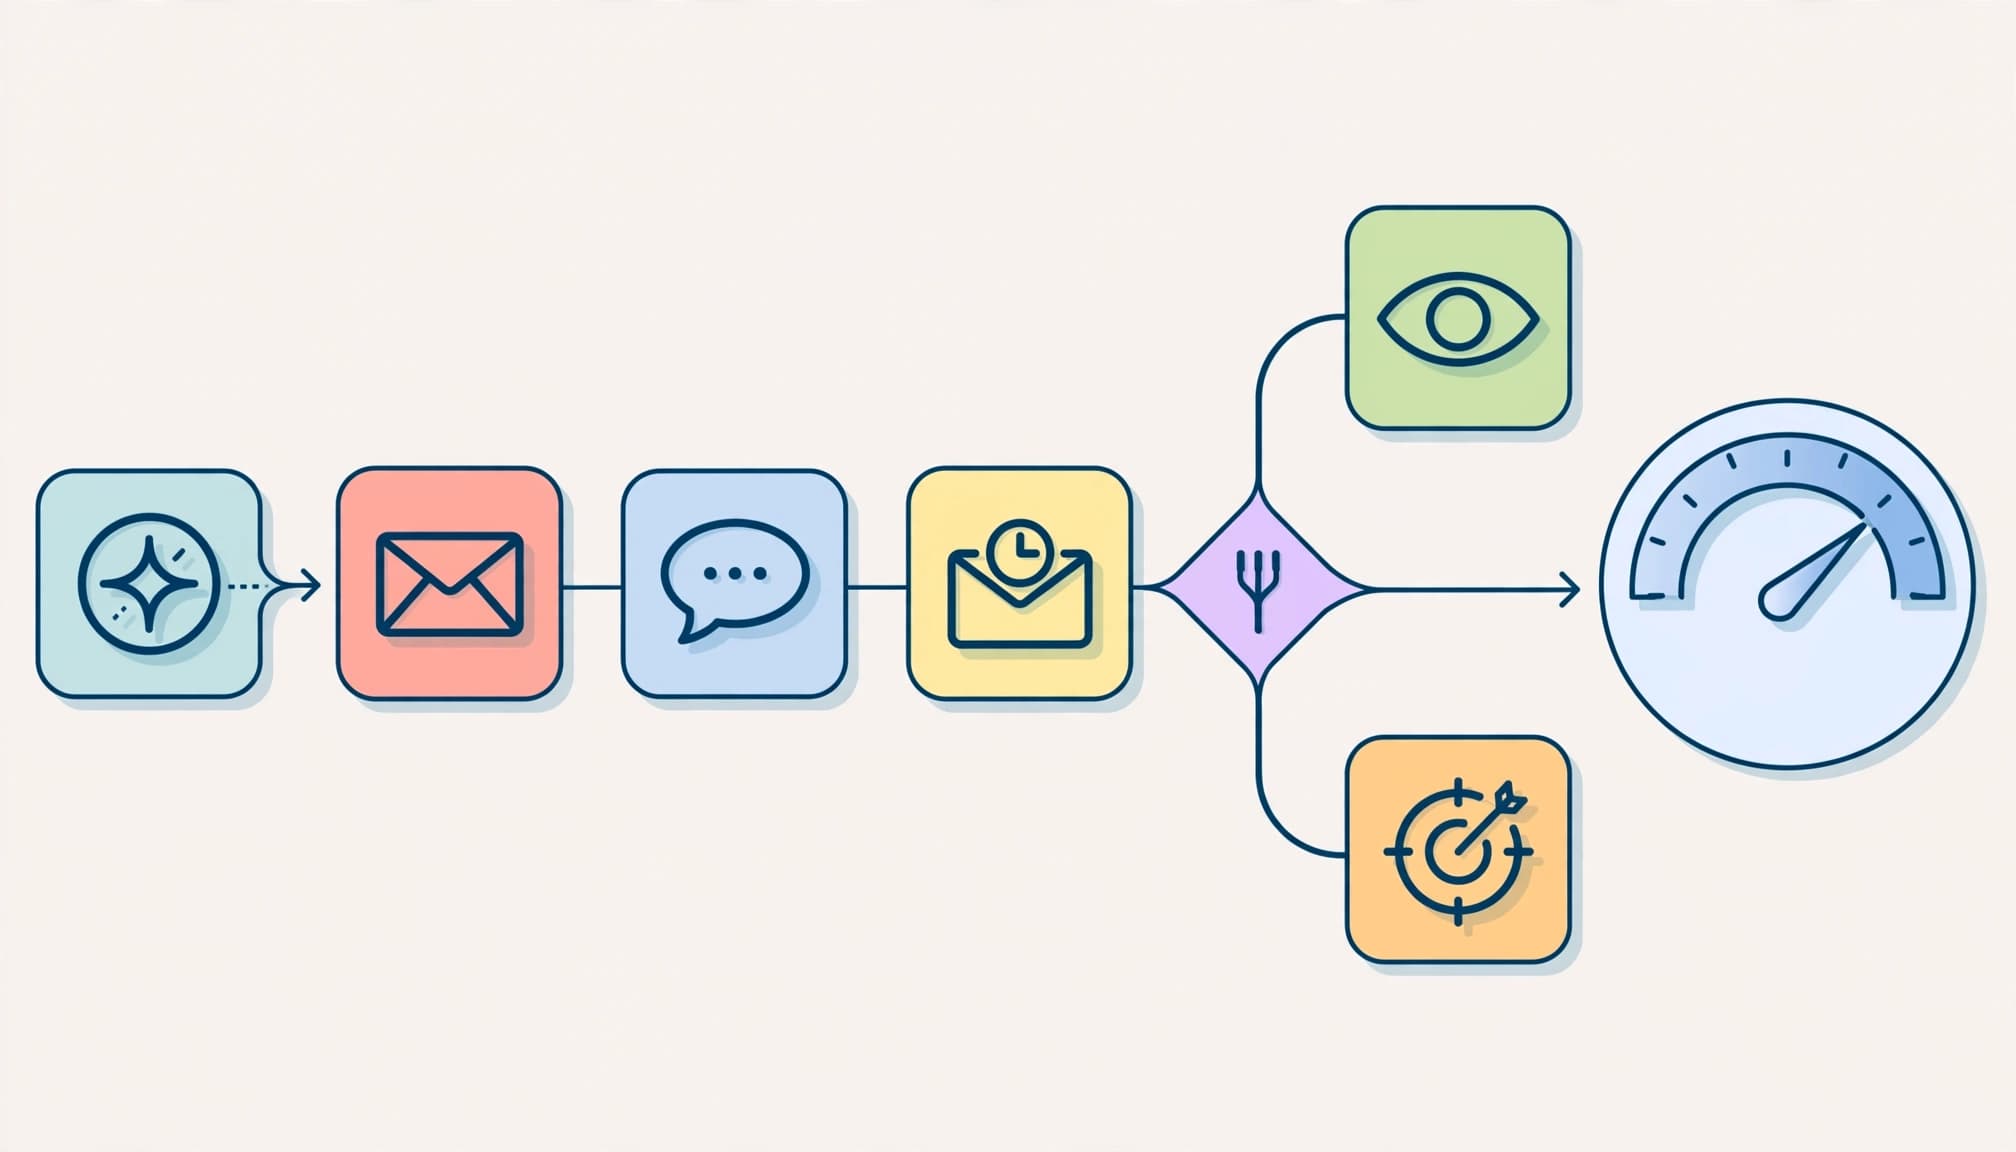
Choose a platform that supports signup triggers, delays, segmentation, and exit conditions. Mailchimp, Klaviyo, and ActiveCampaign offer email automation tools.
Build the workflow in this order:
- Connect your signup form and record permission, source, and relevant preferences.
- Set the entry trigger, send delays, and exclusions for existing subscribers.
- Add purchase, booking, reply, unsubscribe, and bounce handling before publishing.
- Test the complete journey, including mobile layout, links, missing-data fallbacks, and exits.
Authenticate your sending domain before launch. Our email deliverability guidance covers sender identity, list hygiene, bounces, and complaints.
Klaviyo describes roughly seven words as a standard subject-line length. Treat that as a starting point, not a rigid limit. Personalising around the acquisition channel or signup promise is usually more useful than inserting a first name.
For example, “Your guide to choosing the right size” tells readers why the message arrived. Test one variable at a time, such as subject line or offer timing.
Remove buyers from acquisition offers, and pause automated sales messages when someone replies or books. Their latest action should determine the next message.
Use open rate as a diagnostic, not as the success measure. Track clicks, unsubscribe rate, complaints, purchases, booked appointments, and completed jobs by signup source.
Calculate revenue per recipient using attributed revenue divided by recipients in the measured cohort. Keep the attribution window consistent.
Then review sequence completion and 30-, 60-, or 90-day repeat purchases or retention. For a small list, compare several cohorts before drawing conclusions. Cut a message when it repeats earlier content or produces complaints without useful conversions.
Frequently Asked Questions
How many emails should a welcome sequence have?
Five emails over ten days are a practical starting point for a small business. ActiveCampaign recommends four to six, and you can extend the sequence when extra messages answer genuine buyer questions.
When should the first welcome email arrive?
Send it immediately after the required signup confirmation. Put the promised guide, discount, or resource near the top of the message.
What should the five emails cover?
Deliver the signup promise first, then teach a practical solution, address an objection, present a relevant offer, and add genuine proof with a clear next step. Keep each email focused on one action.
When should a subscriber leave the welcome sequence?
Remove buyers from acquisition offers, and pause automated sales messages when someone replies or books. Include unsubscribe and bounce handling in the workflow, and send post-purchase guidance when someone buys.
Start With a Flow You Can Maintain

A useful welcome email sequence delivers the promise quickly and makes the next decision easier. Five emails are a starting point, while subscriber behaviour determines what happens next.
Keep permission and stop rules as carefully maintained as your copy. A purchase or reply deserves a different response.
If you need help connecting signup pages, messaging, and conversion tracking, Get In Touch With Us.